Sunday, September 27, 2020

Re-Assembling the Steering Column

Little did I know what awaited me as I reassembled the column (I was thinking because I had dropped a shift collar flange screw (yes - Ford part #3461 the square headed one) down into the column between the auto shift sleeve and the outer sleeve -- I would have to remove the complete column assembly to retrieve it). I found that by taping a rare earth magnet (o'reilly's $4) to a straightened wire hanger I could slip the magnet down between the column shaft sleeves and pulled out my flange bolt. My first block was eliminated. 

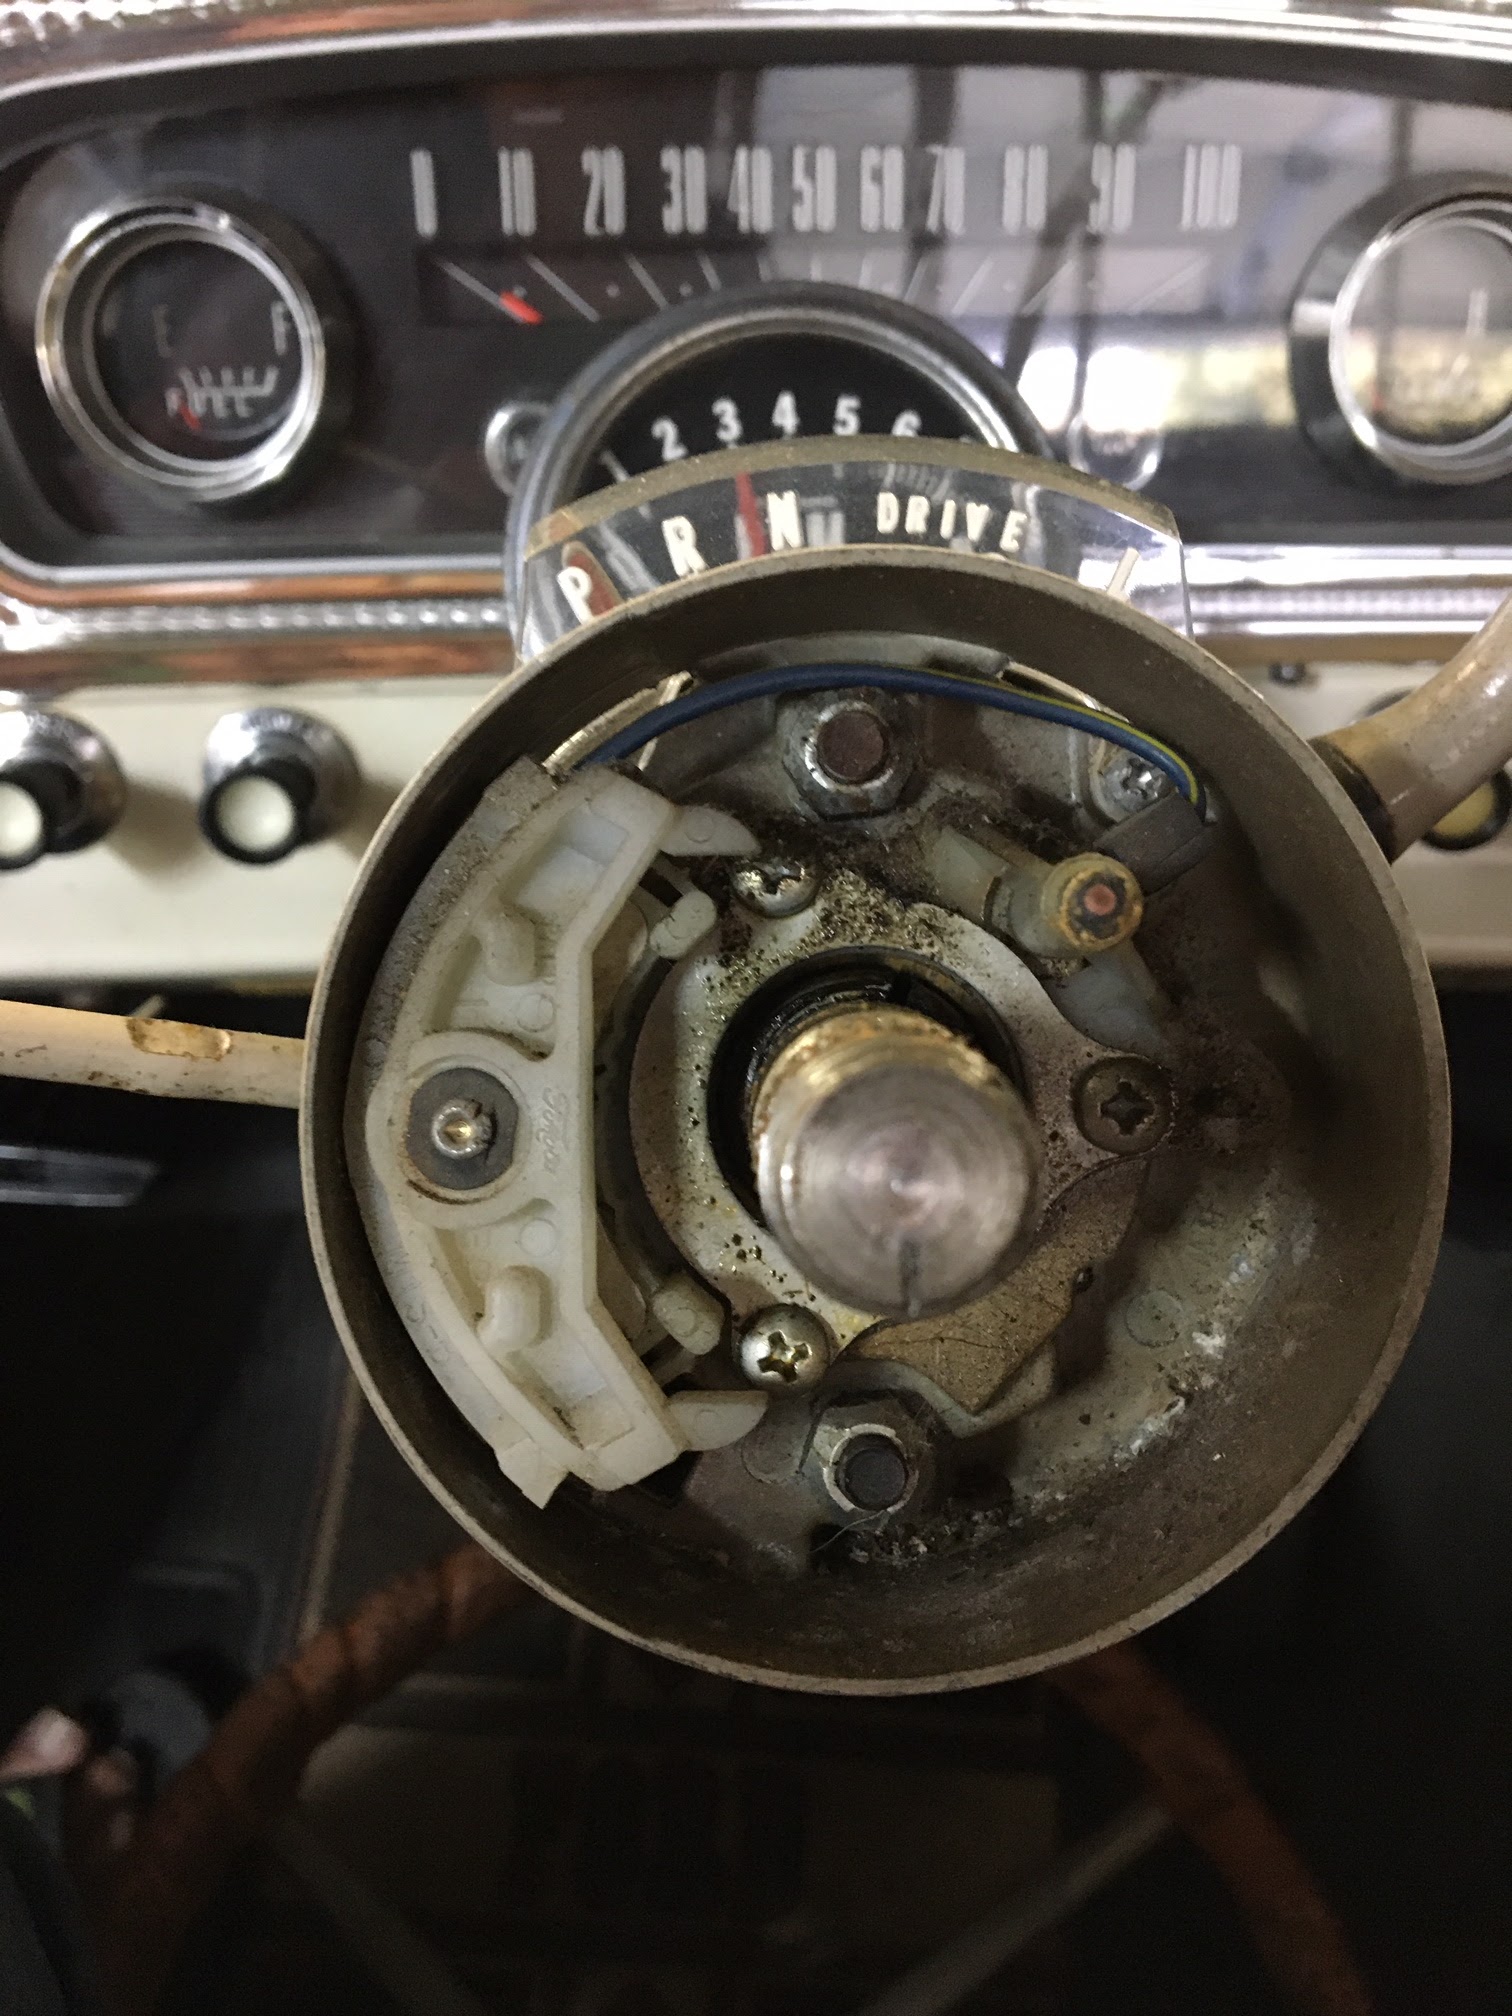
\Next, after dealing with all the wiring and placement of the new turn signal switch into the signal flange collar I was stumped by how the flange bolts actually worked - what did they do? They seemed to just sit in the signal flange and after tightening when I tried to marry the signal flange to the shift collar there was about a 1/8" gap between the two and no way to connect them. Spent a few minutes looking at pictures I took during the tear down and at the various sleeves in the column before I realized the heads of the flange bolts need to sit in top and lower slots of the outer column sleeve. 

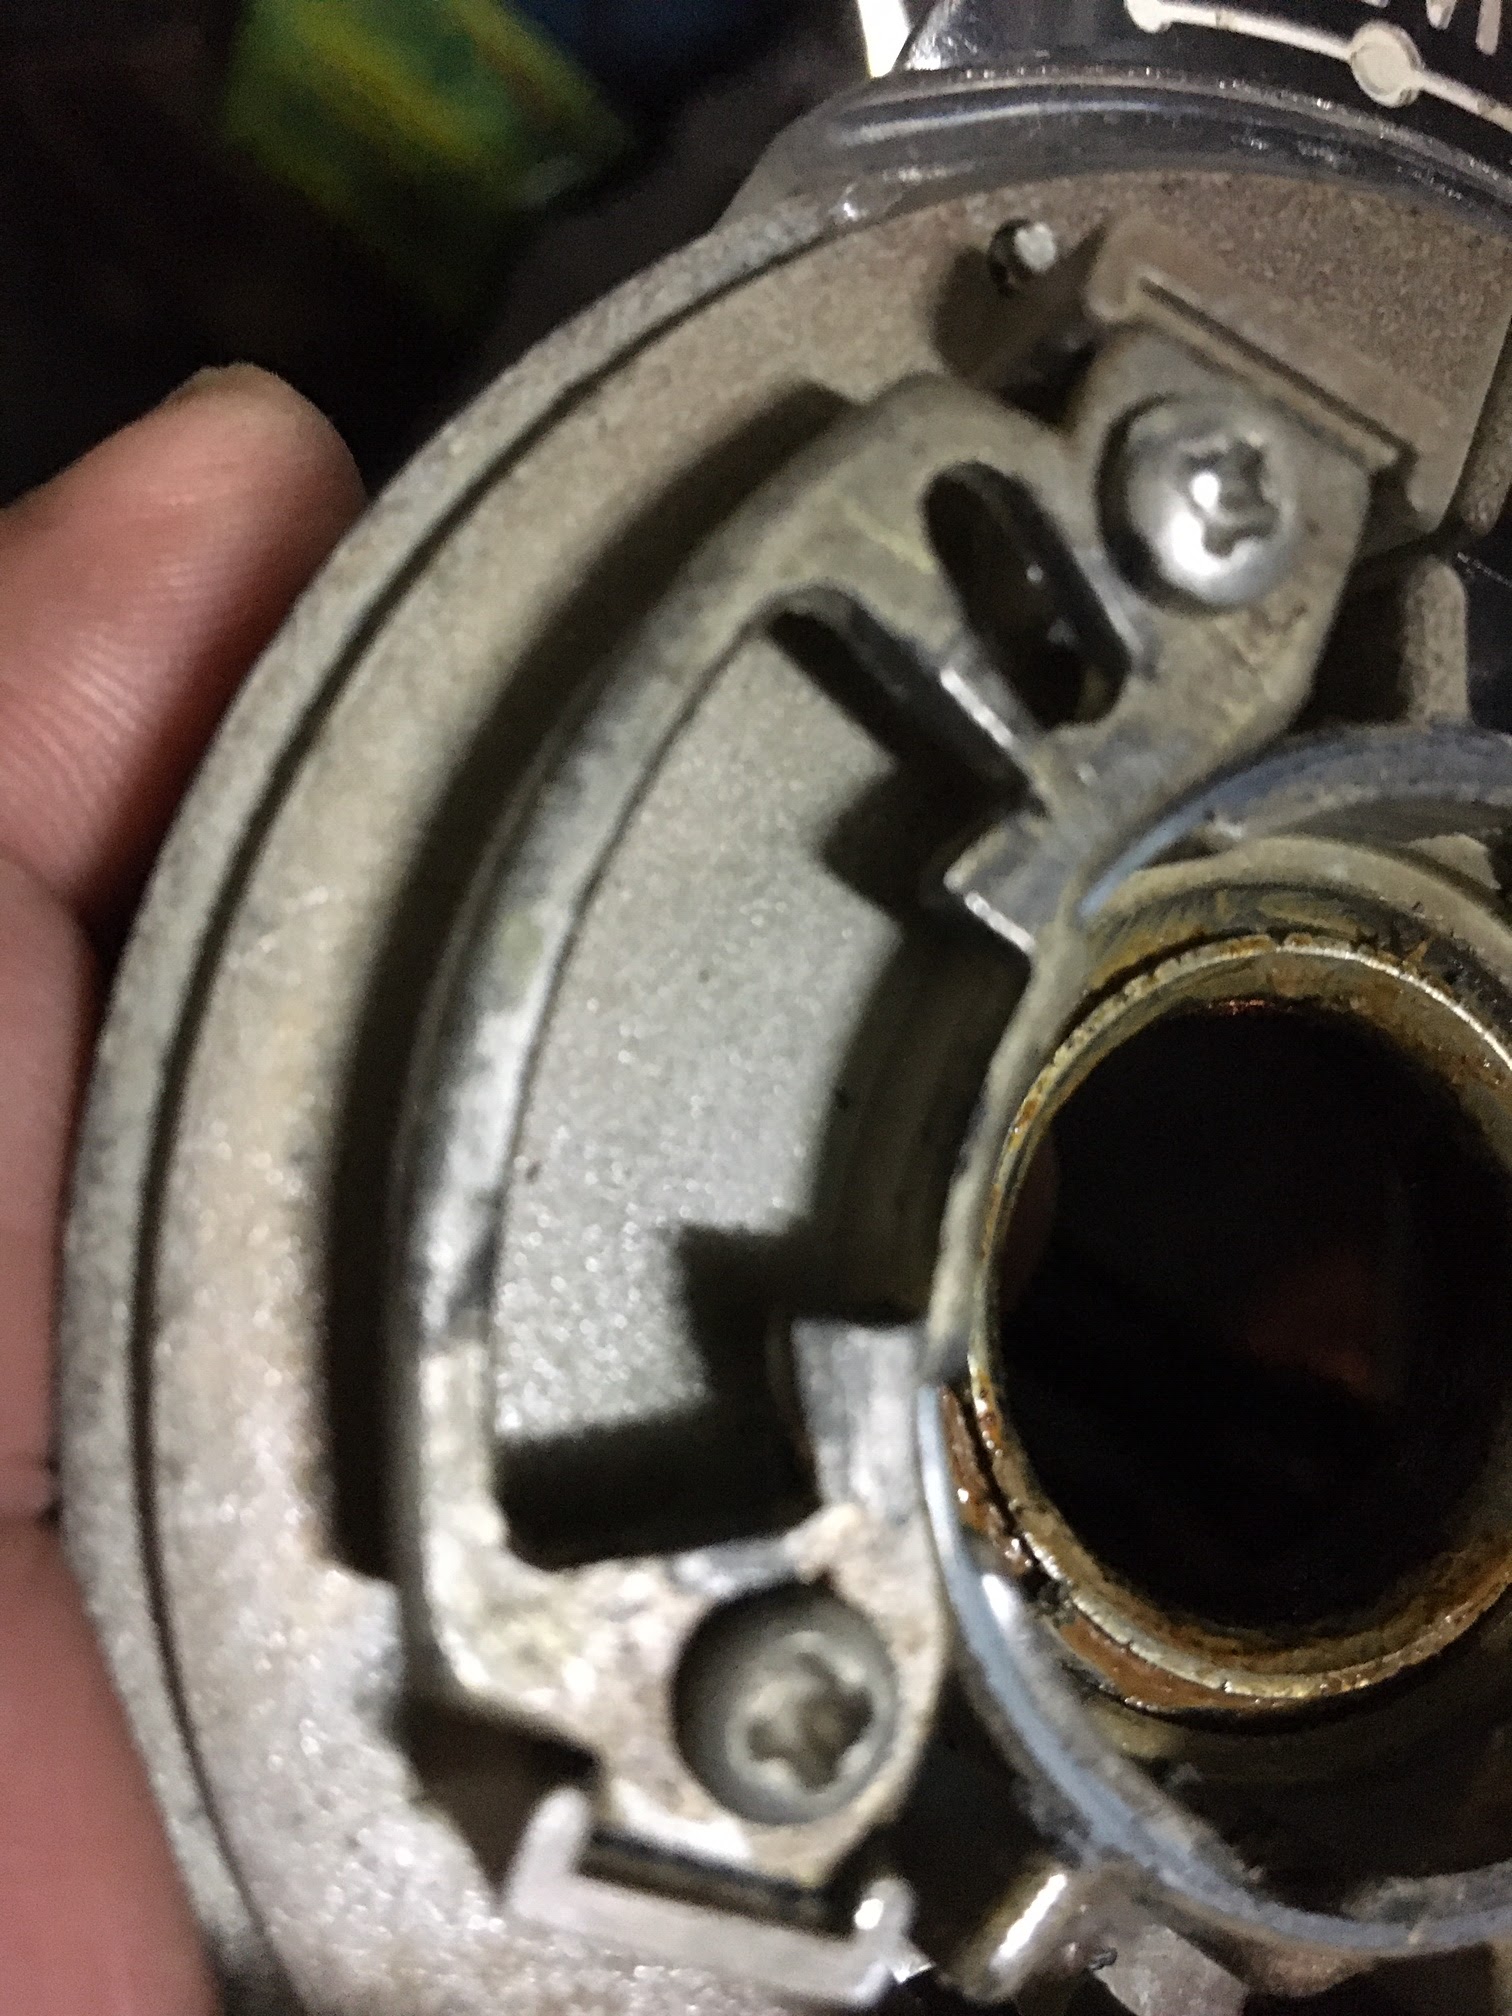
Slots on Top & Bottom of column

Now, how to get them mounted. I spent a few days searching before I found someone that had the same question with a '65 falcon and they had two recommendations - mount flange bolt loosely into signal flange and wiggle signal flange onto column sleeve until flange bolt heads find slots then tighten - OR - tape bolts into slots and then slip signal flange onto bolts and tighten.

I loosely set the bolts and nuts in the signal flange, slipped it over the column and jiggled until the heads of the bolts slipped into the slots on the column - was NOT difficult! However, then the next challenge as I tightened everything down and slipped the steering wheel into place - no matter how much I tightened the main nut on the wheel, the wheel and steering rod were very loose, not like they had been before. 

I spent the next 2 days taking apart and rebuilding the steering column, shift collar, signal collar and searching everywhere on the web for hints at what was wrong - most mustang, falcon and truck owners over the past few decades all pointed to a missing spring between the top bearing sleeve and the steering wheel as the culprit - but I didn't have a spring except for the horn spring in the pieces I had removed - I even went back through all the pictures I had taken but did not see the spring everyone was saying should fix my problem. 

Seems I am missing Ford Part Number 3520 from the parts catalog blow out view of the steering column. Hmmm ... 

I looked around but couldn't find a spring anywhere until I climbed over the tools and packages sitting on the bench seat and looked down on the floor by the passenger door - there, laying against door was my spring - it had rolled off the seat sometime over the last 4 days and now I slipped it over the steering rod and mounted the steering wheel - WOW! Wheel was smooth, tight, my turn signals worked left and right, and most important for me, PARK actually stayed in PARK. 


All the pieces are required ))

I connected the battery and .... the horn starting blasting ))) Uh ohh, something wasn't right, I took another look at the plugs and wiring coming from the steering column but nothing looked incorrect. I connected and re-connected all 7 wires from the connectors and reseated each, verifying the cables were in the correct position, when I touched the cable to the battery the horn blared. 

I compared starting pictures with what I had built, I reviewed threads on FTE about rewiring the column - there was no easy answer here so ... I pulled the horn ring ... and then the steering wheel ... I connected the battery and it beeped - I knew something was shorted somewhere, so I disconnected the turn signal switch ... still beeping ... pulled the turn signal switch up off the steering rod ... touched the battery cable to the battery and ... silence ... hmmmm, I remembered what a teacher had told me years ago - the last thing changed before it broke is what broke it - so I took a close look at the wires on the back side of the turn signal switch, compared what I saw to the broken, original switch and saw that the horn wire wasn't mounted on the new third party the same way that the OEM part had. I unbent the wire where it was connected to the switch and made sure the wire routed up over the switch and down the column. I touched the battry cable tot he post and ... no beeps!     

I quickly reassembled the steering wheel and horn ring, cabled the battery and ... no beeps until I pressed the horn ring - it was working. I fired up the truck and tested the left and right turn signals ... worked great. 

After 8 years of running this old truck without PARK (blocking wheels whenever I parked, using parking brake religiously, etc.) I feel a little spoiled knowing that when I slipped Ole Blue into Park she ain't gonna move until I am sitting in the drivers seat again. 


Tuesday, September 22, 2020

How to Drive a Ford Cruise-O-Matic Transmission in Town


The Cruise-O-Matic arrived in 1958 and offered 3 Drive positions, one marked with a green dot. The new automatic still featured a Low position, but a sprag allowed the transmission to shift automatically from low to second to third when in the green dot position. The white dot started in 2 gear and went to 3rd only. This green dot gear pattern remained until 1967, when Ford replaced it with the now-common 1-2-D pattern for three-speeds. 


Frankly, weekend runs down the boulevard using white dot is comfy, responsive (with the 352) and there ain't a day goes by somebody doesn't give me the thumbs up ))


From the original 1966 F-250 Camper Special Operators Manual we learn what the crazy dots and L mean when driving the 3 speed Cruise-O-Matic transmission. 

I think the cruise-o-matic (or COM) is a little quirky and a little special - I know nothing of the mechanics but from a drivers view, skipping first gear on a truck geared like this factory standard Spicer/Dana 60 Rear Axle (4.10-1 / No Limited Slip with 5,200 lbs. Rear Axle) made off farm driving a piece of cake. I don't get ice or snow but I find the 2-3 softens the jolts when driving in town and out on the two lane roads in the surrounding low hills. Downside is there is no way to hold the transmission in 2nd gear. On all forward options 2nd gear shifts up.      


I never could resolve the differences in the drive markings of the picture on page 1 and the text. So, I drove it to learn the green dot on my shift indicator shifts 1-2-3, the little white dot under the word Drive started in 2nd and went to 3rd when pushed. L was 1st gear only.   


Best of luck with this ... 

Monday, September 21, 2020

Replace the Automatic Transmission Shift Lever

Because the shift lever tab that holds the lever in Park was snapped off over the years (even resulting in replacing the drivers side door when Ole Blue took off across the yard while tuning and side swiping another parked car) we found an New-Old Stock (NOS) OEM shift lever on Ebay and want to swap in the new shift lever.

Ebay is our friend today - WooHoo (nice Price!!!) 


Its a black one, not tan but will work with Ole Blues Interior 


Install

First - we looked around and found the following guidance:

"... Use a punch and hammer to drive the pin from the bottom up. Probably easiest if you select reverse or second gear. Once you drive the pin out, you'll be holding the lever in your hand. " https://www.ford-trucks.com/forums/915143-1966-ford-gear-shift-lever-removal-question.html

OK this seems straight forward... but it took 3 days of very careful placement of the punch (I did not want to mess up the original paint on the shift collar) to figure out how hard I had to hit the pin to push it up. You have to smack it fairly crisply and solidly to get it to move, with shift collar firmly placed on stack of newspapers of something else that will keep paint from chipping off of pressure points. 

Once the pin was out the new shift lever slipped into the shift collar with a little wrangling with the spring loaded pin that MUST be under the shift lever. By turning the shift lever just enough and sliding it into the shift collar while pressing it against the engine side pressur epin the shift lever slipped into place. I inserted the pin from the top down into the collar and lever and viola! New lever for ole blue! 


Wednesday, September 16, 2020

Yuuup - its the old Park to Reverse issue common on F250's with a Cruise O Matic

When Ole Blue is sitting in Park, it frequently will slip into reverse. Happens when starting, when sitting at a stop light, when idling in the garage during a tune up. When Uncle Ken was having Ole Blue worked on in the 90's the mechanic wasn't aware of the issue and actually tore off the driver side door when he left the door open while working up front and the transmission slipped into reverse, idled across the yard (in reverse) and hit a tree or something bending the drivers door towards the front of the truck -- AAACCCKKK. (They found a replacement door and painted it to match Ole Blue's Marlin/Wimbledon colors - it still doesn't fit very well - maybe was off a '64 or something).

Anyway, I was reading threads on the FTE forum the other day and saw where Bill the retired Ford Parts Manager responded to a reader with the following info:

"What you're referring to...is not a defect, it's caused by human error. It's a somewhat common occurrence that affects all 1961/96 trucks with A/T.

People put the shift lever into Park before setting the hand brake, causing the truck to roll...just enough...that the parking pawl inside the trans locks up tight.

Now the shift lever has to be YANKED out of Park and before too long, the detent aka shift gate that the tab on the shift lever locks into between Park & Reverse...snaps off.

C5TZ-7A216-A ... Detent-bolts to bottom of upper steering column flange ~ 1965/66 F100/250 240/300 C4 & 352 MX C-O-M / Obsolete

No Ford Dealer or obsolete parts vendor has any. "


I will try to find and replace this piece while swapping out the turn signal switch ....

Uh Ohhhhhhh
C5TZ-7A216-A Is not available, however, we found this thread on FTE: 
(Use a detent off a /73 bronco)  

Another story: 
(Make sure the detent is the issue - this guys root cause was his shift lever) 

I took off the steering wheel and immediately saw that the 2 'ears' were broken off the turn signal switch - ordered that up from one of the current replacement parts stores. Following the advice of users at the FTE forums I ordered the complete part with wires, as all recommendations say replace the complete switch NOT just try to replace the white plastic thing as this almost never really fixes the problem of turn signals not working correctly.  


Decided to take a look at the detent while prepping for new turn signal switch, I unscrewed the three retaining screws and pulled back the turn signal switch, then removed the two center shifter retaining nuts and lifted out the shift mechanism. Turning over the shift mechanism, the detent looked great - no cracks or deformities.  


Taking a closer look at the Shift lever, the end looked a little different then what was shared on the FTE forums. 


I saw a little piece of steel laying next to the end of the shift lever (see 1 below) and a rough edged on the end of the shift lever - the tab had broken off !! (see 2 below)  


ROOT CAUSE OF OLE BLUE shifting into reverse was NOT the detent at all - it was a broken lock tab on the shift lever!  


Time to fix the Turn Signal


The turn signal on Ole Blue hasn't worked right since we started driving this truck 7 years ago. We can indicate the direction we are turning but regardless of direction we flip the switch it never returns back to OFF position after the turn. 

Working with my son on his 1966 Mustang he has a similar problem when he turns left, he pulled the steering wheel and found a broken return cam and found a replacement switch online so I decided to do the same.

First stop is a quick search on FTE forums to see what lessons I can take away from others efforts and bottom line is the key recommendation is NOT to try and replace the cam, just replace the whole switch. "Autoparts store replacement cams never fit or work worth a damn."

C9TZ-13341-C ...T/S Switch / Available from Ford. is what Bill the retired Ford Parts Manager says but when I looked online at our local Ford dealership they said this part has been discontinued. (Maybe since the original post from Bill was dated 2006, this has happened in the past 14 years!!). Have to find another source. 

Bill also said to follow the method the ford techs used: 
1) Cut the wires off about 1 1/2" above the connector, leaving enough so the color of each can be determined.

2) Tape the wires together, and tie a long piece of string to them.

3) Pull the switch from the column, tape the new wires together, tie the string to them.

4) Pull the string from the bottom of the column, the wires will feed down without binding up. Match the new wire colors to the cut-off pieces remaining in the connector.

"In the 1960's, there was an ancient Ford tech at the dealer I worked at, who could R&R a TSS in 10 minutes or less using this method....including R&R'ing the wheel." - Bill    

Thanks BILL!